![]()
The VTEX Google Tag Manager (GTM) app is a first party integration to the Google Tag Manager solution.
Installing the Google Tag Manager app
- Access the Apps section in your account's admin page and look for the Google Tag Manager box;
- Then, click on the Install button;
- You'll see a warning message about needing to enter the necessary configurations. Scroll down and type in your GTM ID in the
Google Tag Managerfield. - Click on Save.
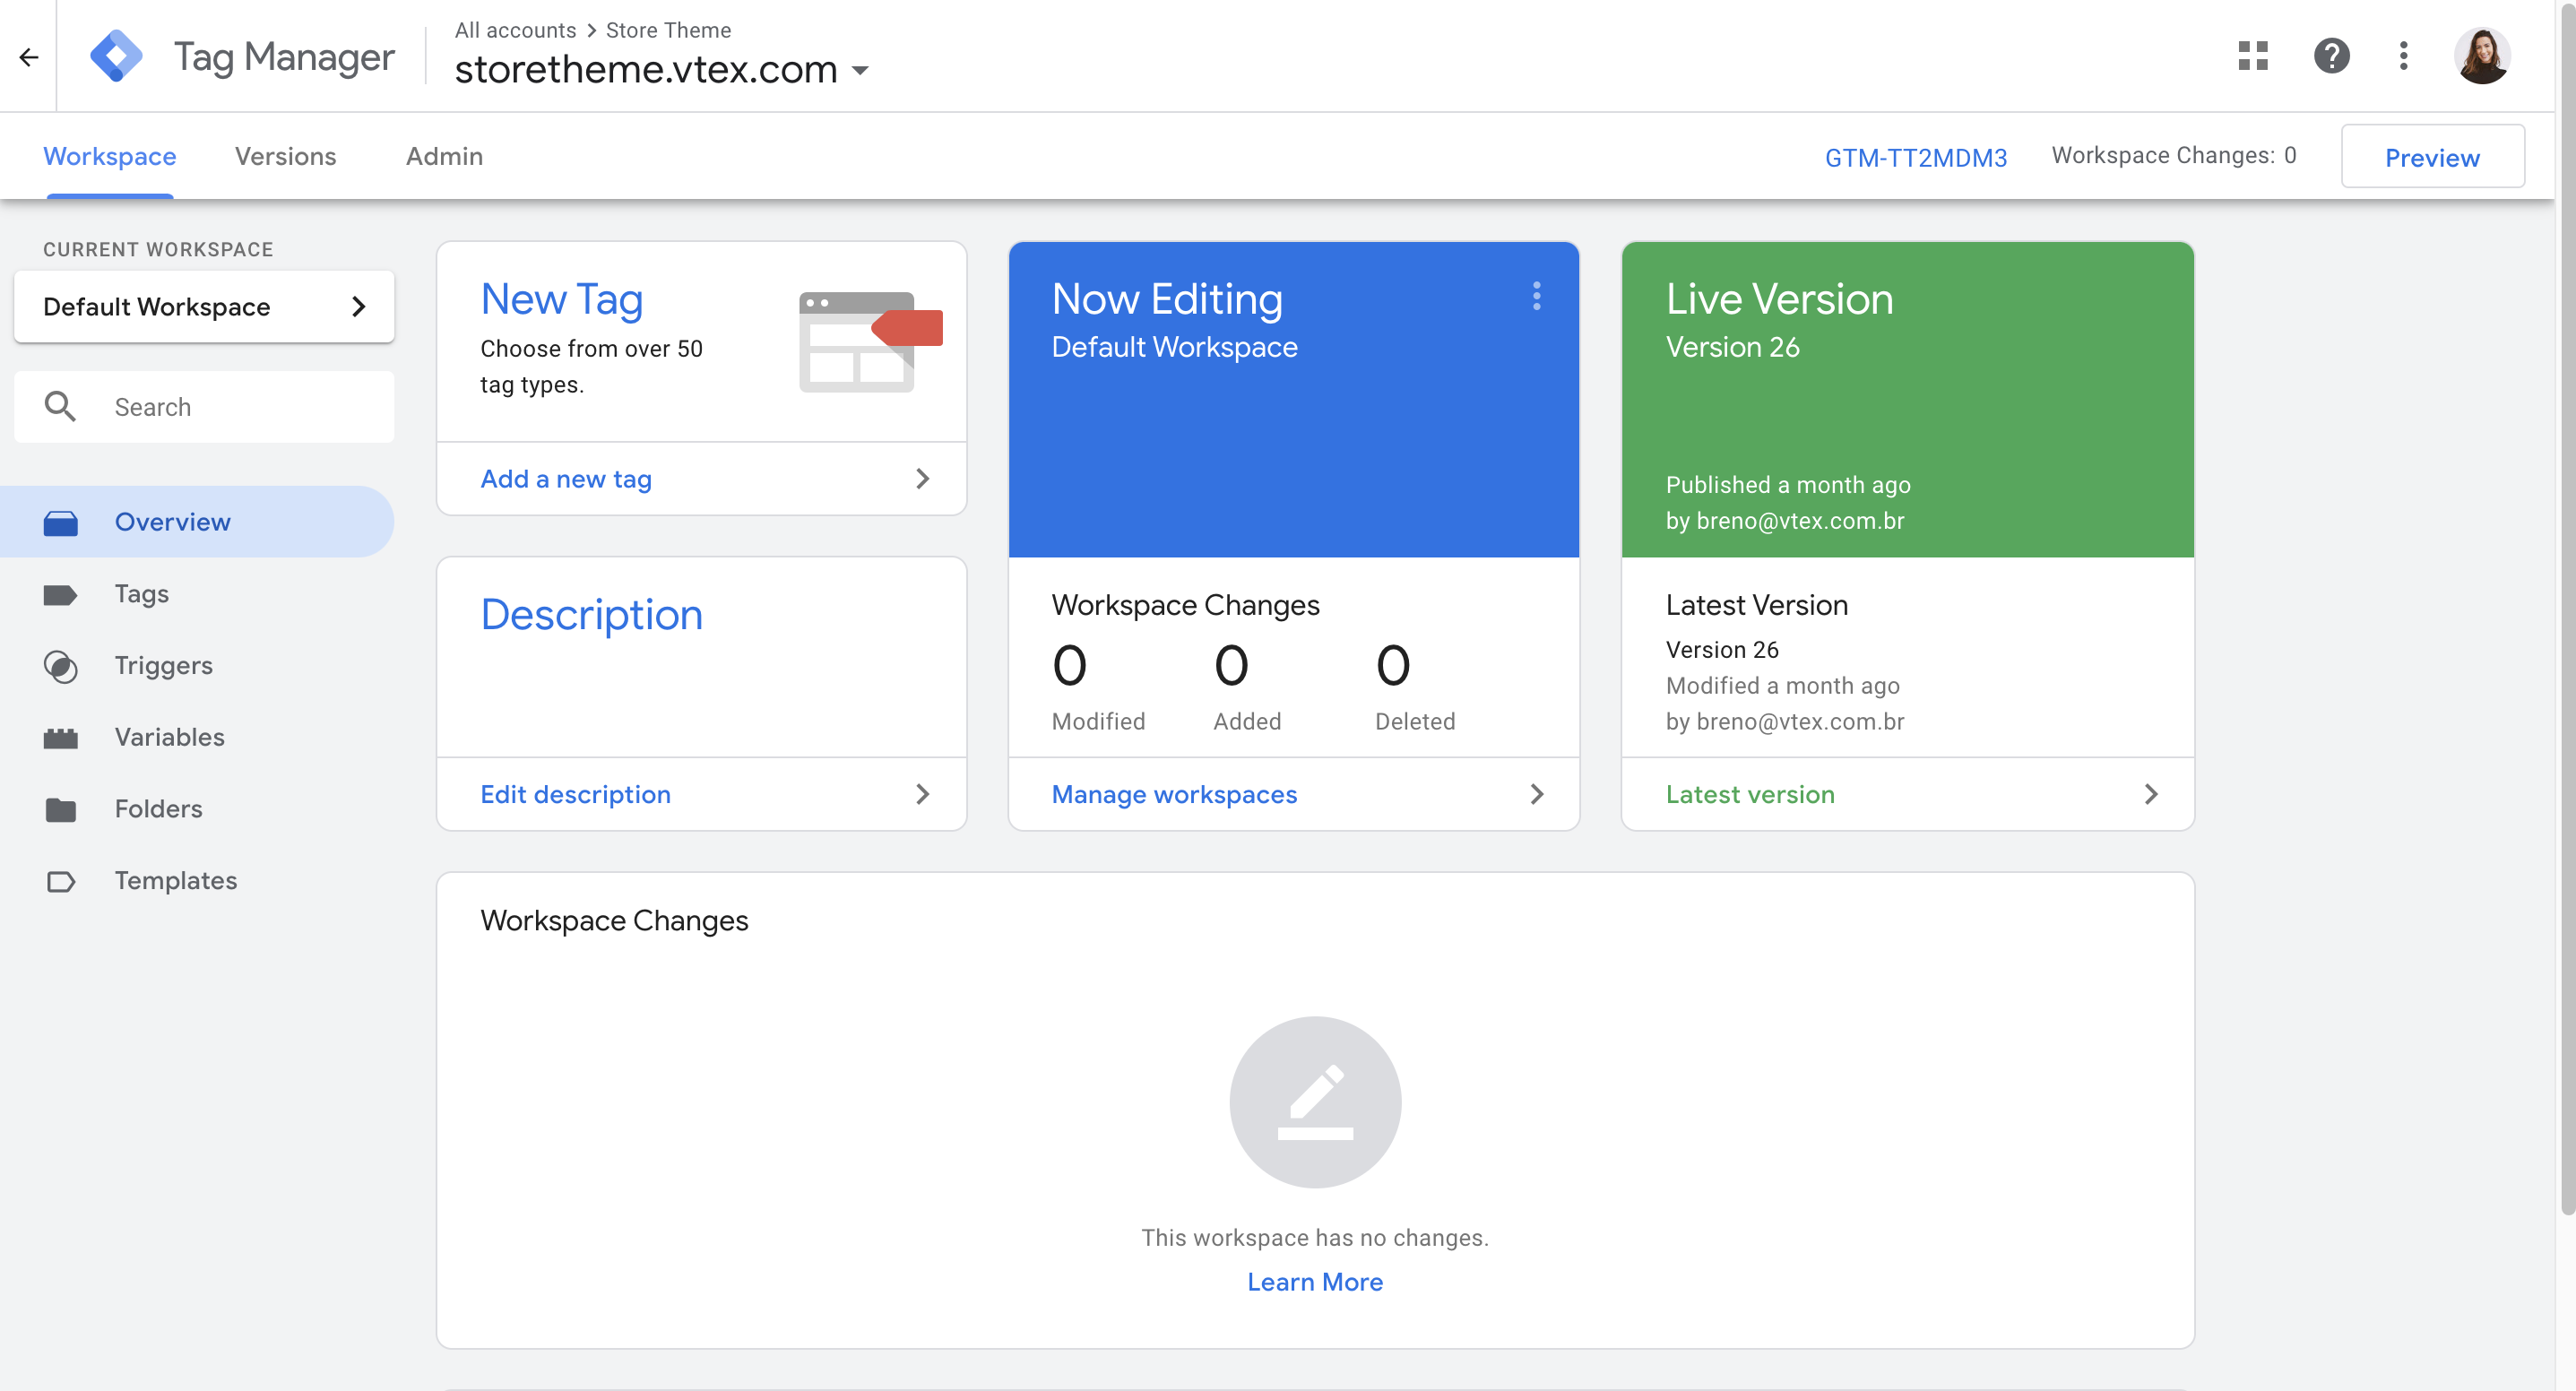
Access the Google Tag Manager page and log in to your account in order to find out what is your account GTM ID. Use the number provided by the
Container IDcolumn.
Step 2 - Creating Google Analytics variables
To set up Google Tag Manager in your store, you must create and set up all necessary variables, triggers, and tags. Follow the Setting up Google Tag Manager documentation to create them.
Step 3 - Persisting campaign data throughout a user session
To prevent GTM from creating additional session identifiers every time a user navigates the website, you must add the variables originalLocation and originalReferrer to your GTM container and configure your store’s Google Analytics tags. Notice that this is important to persist campaign data throughout a user session and avoid providing inconsistent campaign data to Google Analytics (GA).
The
originalLocationandoriginalReferrervariables are available for VTEX IO Google Tag Manager versions2.xand3.x.
Creating the variables Original Location and Original Referrer
-
Log in to your GTM account and click on the GTM container you want to work with.

-
On the container page, click on Variables.
-
In the Built-In Variables section, check if the
Page URLandPage Pathvariables are enabled. Otherwise, click onConfigureand selectPage URLandPage Pathto enable them. -
Go to the User-Defined Variables section and click on
New. A side popup will open. -
Replace the
Untitled Variablevalue withOriginal Location. -
Click on Variable Configuration.
-
On Page Variables, click on Data Layer Variable.
-
In the
Data Layer Variable Namefield, typeoriginalLocation. -
Enable the
Set Default Valueoption and fill in theDefault Valuefield with the following value:_10{{Page URL}}
-
Click
Save. Once you have saved theoriginalLocationvariable, create theoriginalReferreras described in the steps below. -
In the User-Defined Variables section, click on
New. A side popup will open. -
Replace the
Untitled Variablevalue withOriginal Referrer. -
Click on Variable Configuration.
-
On Page Variables, click on Data Layer Variable.
-
In the
Data Layer Variable Namefield, typeoriginalReferrer. -
Enable the
Set Default Valueoption and fill in theDefault Valuefield with the following value:_10{{Referrer}}
-
Click
Save.
Updating Google Analytics Settings variables and tags
Now, let's configure every Google Analytics Settings variable that fires the originalLocation and originalReferrer variables.
-
Go to the Variables section;
-
On User-Defined Variables, click on the name of one of the Google Analytics Settings variables

-
Click on the Variable Configuration box;
-
Go to More Settings > Fields to Set;
-
Click on
Add Field; -
Set the
Field Namefield aslocationandValueas{{Original Location}}; -
Then, click on
Add Fieldagain; -
Set the
Field Namefield asreferrerandValueas{{Original Referrer}}; -
Click on
Save.
If you have any Google Analytics tags using the Google Analytics Settings variables you have changed, apply the same changes above directly on the tags that need it.
Publishing your changes
Once you have set up the Google Analytics variables and tags, follow Google's official guide on how to submit and publish your store’s container.
Restrictions
In order to avoid performance problems and unforeseen behavior, our VTEX IO Google Tag Manager solution uses the native GTM blacklist feature. You can read more about this feature on the Google Developer Guide.
We, by default, blacklist the html ID, which automatically blocklists all the tags, variables, and triggers of the type customScripts. The main consequence of this blocklist is that Custom HTML tags will not be triggered.
The HTML blacklist is the VTEX Google Tag Manager app's default. If you want to disable this restriction, go to
https://{accountName}.myvtex.com/admin/apps/vtex.google-tag-manager@2.x/setupand check the toggle below.
Most of the widely used Custom HTML tags are integrations with third-party services, like Customer Chat, Analytics, Remarketing, and Pixel tags. If your store needs a Custom HTML for one of those cases, the integration can either be done by transforming the tags into a VTEX IO Pixel App or by removing this restriction.
Check below the full list of tags and variables that are blocked, by default, in the VTEX IO Google Tag Manager solution.
Blocked tags
- Custom HTML Tag -
html - Eulerian Analytics Tag -
ela - SaleCycle JavaScript Tag -
scjs - Upsellit Global Footer Tag -
uslt - Upsellit Confirmation Tag -
uspt
Blocked variables
- Custom JavaScript Variable -
jsm
Check out a list with all the GTM available tags on the Google Developer Guide.